One of the main features of a superb ticketing system is that it helps you customize ticket views on your user interface in order to have a flexible system that better addresses the different needs of companies and individuals. Moreover, it specifically gives you the option of choosing which column you want to show in the view. Also, it allows users to change the displayed name of these columns, and yet reorder and rearrange them, helping users collect and track requests from a single view.
Creating a Customized Interface View
System admins can now use Modify This View feature to customize the interface view for Workspace and Request Type. They can add and remove columns using default and custom fields alike, thus creating a view that suits their processes better.
In the following sections, the process of each is explained in detail.
- Workspace
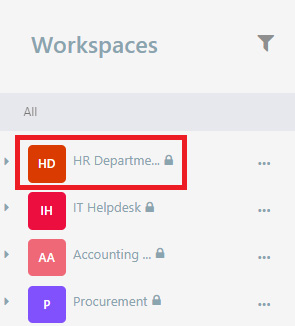
Go to the Workspaces on the upper left corner of the screen > Select the required Workspace > Hit the Modify this view button.

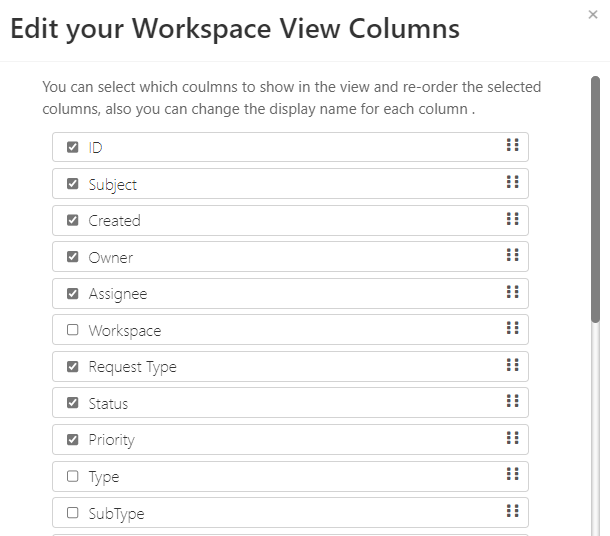
Users can select which columns to show in the view, and drag and drop for reordering.
And voila, the view is created!

- Request Type
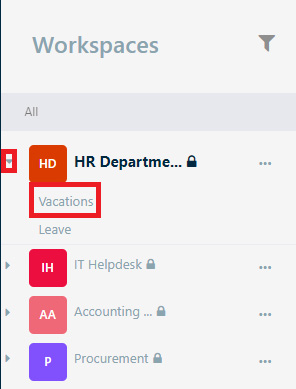
Go to the Workspaces on the upper left corner of the screen > Select the required Workspace > Select the required Request Type > Hit the Modify this view button.
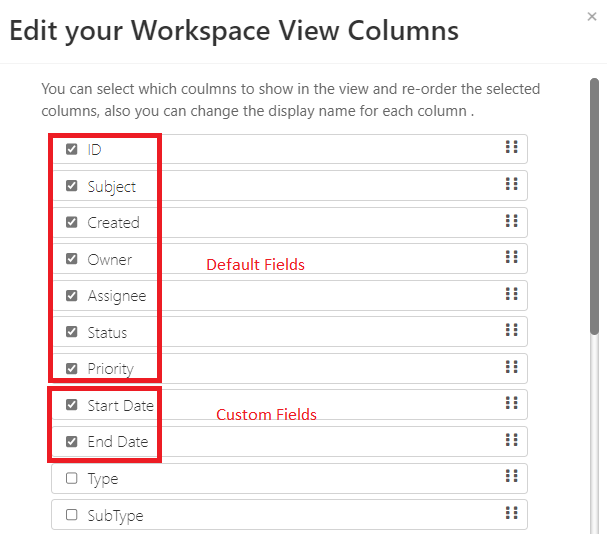
Fortunately, users have the same flexibility they have in workspace. In other words, they can select which columns to show, and drag and drop for reordering.

Here we are!

System admins are also able to change the display name of the columns, and these changes are directly reflected on their views. In the case you want to do it, go to Modify this view and click on the name of the column and rename it.
