Create a SharePoint Group
Select a department to assign a ticket to, rather than an individual. Your different departments (e.g., HR / Sales / Finance) will be divided into different teams and group team members into different SharePoint groups.
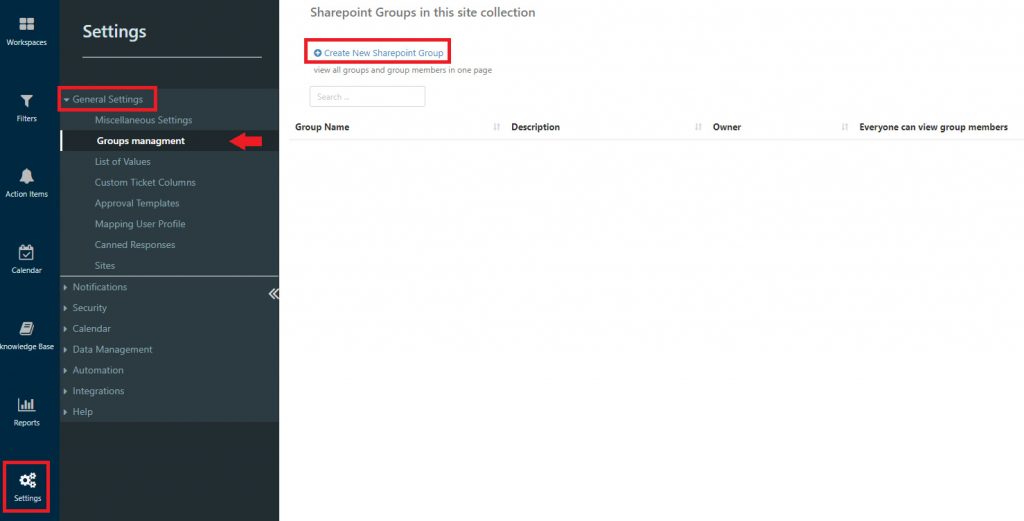
1) Access through Settings > General Settings > Group Management
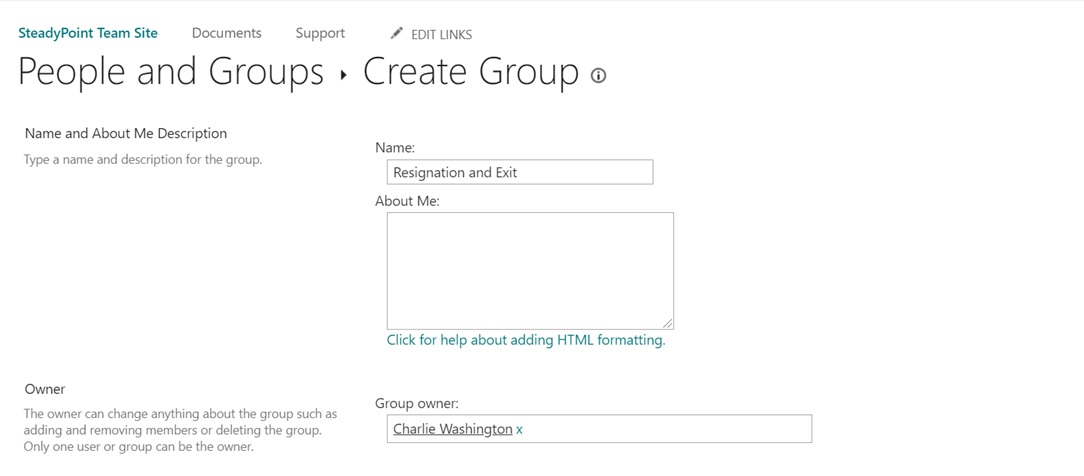
2) Fill in the missing blanks that best suits your groups description.
Important information:
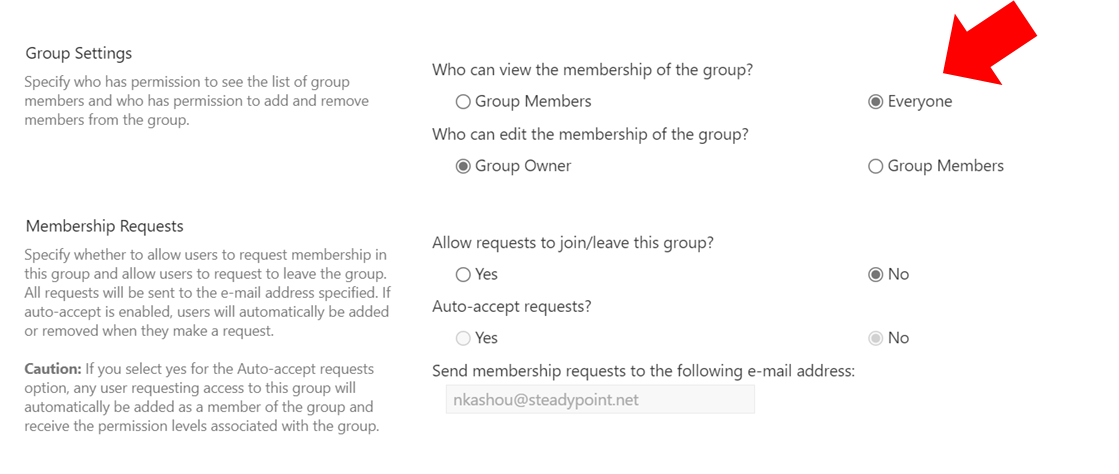
- Make sure under Group Settings (Who can view the membership of the group) is on “everyone”.
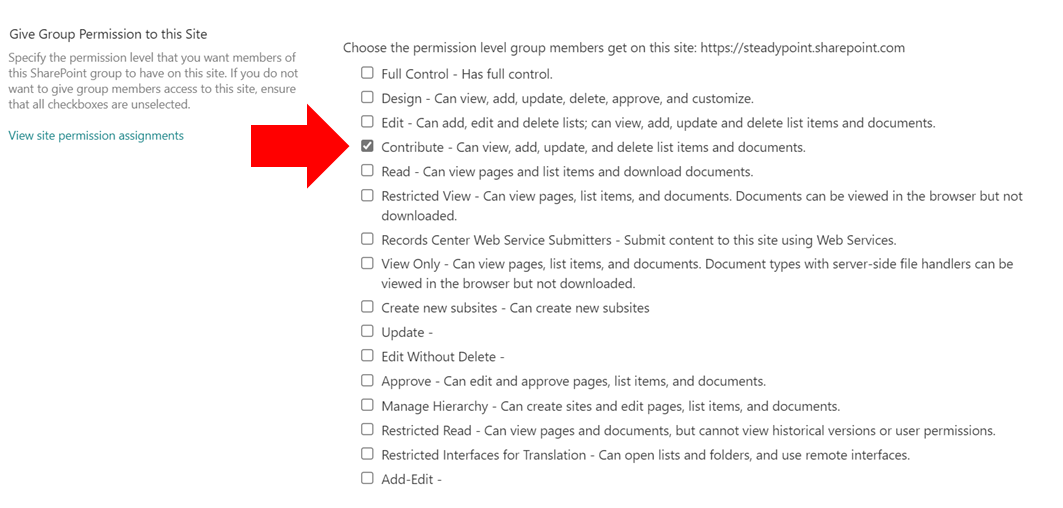
- Make sure under Give Group Permission to this site (Choose the permission level group members get on this site: https//steadypoint.sharepoint.com), “Contribute” is ticked before proceeding.
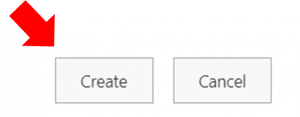
You will then be redirected to the homepage
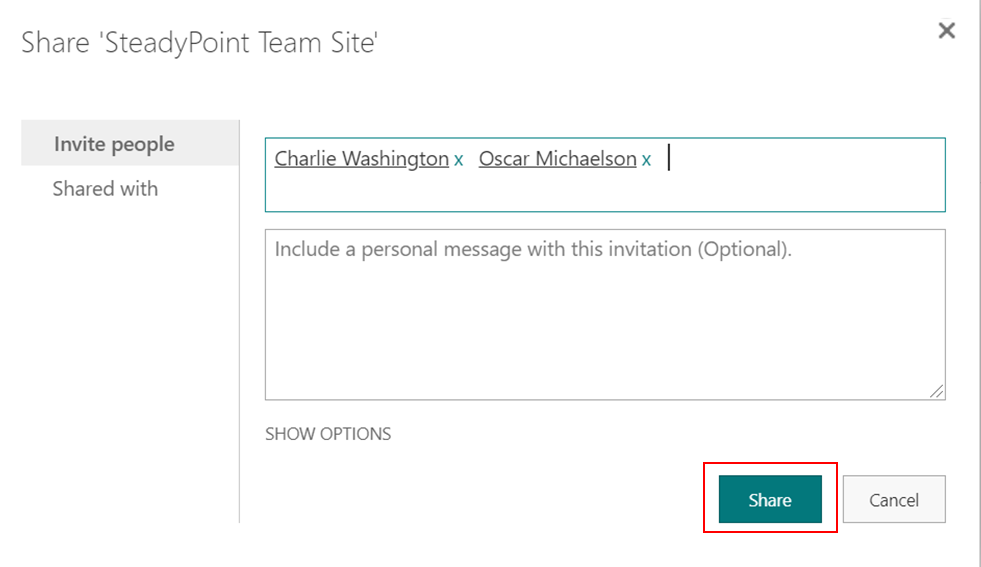
3) Add your team members to the group through New → Add Users/Add users to this group.
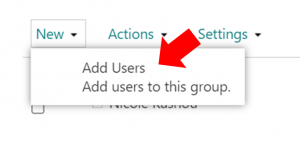
After adding your team members,
4) Click on Share and your team is ready!